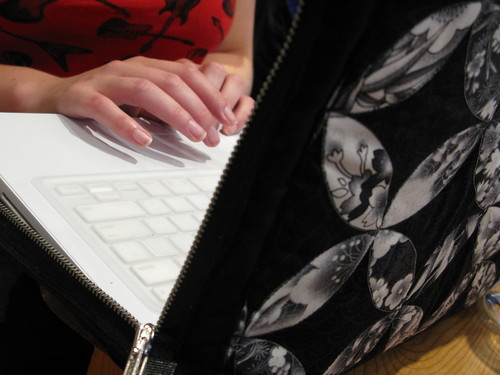
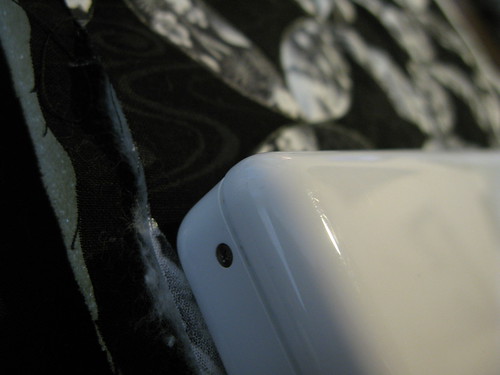
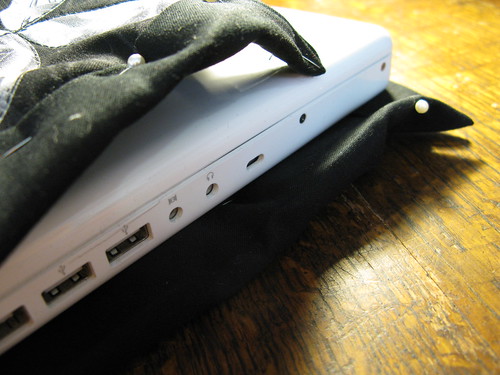
Not only does it keep the computer snug while you drag it abouttown, you can keep the cover on while the computer is in use. If you are actually using it on top of your lap this insulates your thighs from the computer's heat. This also makes using your computer slightly more discrete in public. And if that wasn't enough, it means your laptop looks much more personal than the mass-produced object we all try to forget it is.
You can do it in a day or two, depending on speed of sewing and how complected you want to make your quilt. Its a great opportunity to play with quilt-making skills because at the heart of the project, its a tiny-tiny quilt.
You will need:
- A sewing machine and the know-how to use it.
- A tape measure.
- The computer the case is going to accomodate (or at least careful measurements).
- A humungous zip which is long enough to run along the two shorter sides and one long side of the computer.
- Pretty fabric for the outside (or scraps to patchwork).
- Quilting batting (optional, but I think it makes the quilted bit look nicer)
- Some backing fabric for the quited bit (this ends up hidden so can be any old rubbish, but it'll be easier to sew if its a similar type of fabric to your pretty outer layer).
- Some flat foam leftover from packaging or purchased from a stationary or craft store (I used a 5mm thick one, folded double). Please don't ask me how to source this - look around or improvise within your own local area. Basically, you need something thick enough to keep your computer cushioned.
- Some lining fabric - more than twice the size of the computer. Its probably a good idea if this is cotton, electrical conductivity and all. Though I've never heard of a conducting fabric (e.g. wool) actually causing problems, general wisdom is that if you have the choice of cotton, you might as well not risk it.
- Thick strips of fabric for edging (though wide bias tape would probably be better). You can do without this and just make the lining fabric bigger.
- Thread appropriate to your fabric.
- A few inches of elastic (5mm wide minimum).
- An iron.
- Big fat pins.
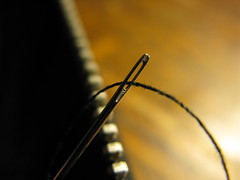
- Hand-sewing needle.
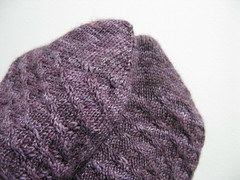
Step One:
Using the fabric you've chosen for the outside, along with any batting and the backing fabric make a mini-quilt which is slightly smaller than twice the size of the closed computer.

Step Two:
Cut out foam and a layer of lining fabric which is big enough to cover the computer, its probably a good idea to use the computer to work this out. At the very least, do remember to take into account the depth of the computer as well as two-times the length by width. You want the foam to be every so slightly smaller than the other pieces.

Step Three.
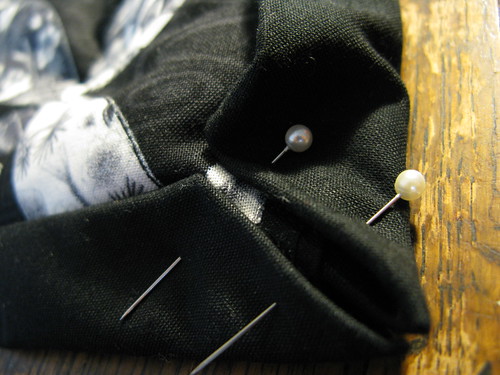
Pin these two new layers together with your mini- quilt. Make sure the foam is in the middle, with some space for the fabric to be sewn together around it adn the zip attached. Test out the sizing with the computer.
Step Four.
Bring these layers together neatly with your edging strips/ bias tape. If not using separate edge pieces, fold the sides of the lining fabric accordingly. Bear in mind the size of the zip when you are making sure the whole caboodle will fit snugly around the computer. Even lazy sewers will want to iron in neat seams at this stage.
Step Five:
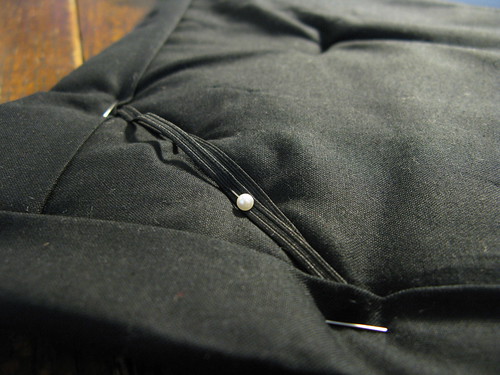
Pin in some elastic to the corners - this hold the computer to the case when working with it open.
Step Six:
Check the sizing works one last time. Now is also a good point to weave in some ends (so they don't tangle up sewing later) and you might want to give it a bit of an iron. Then sew around the edges to bring it all together.
Step Seven:
Pin and sew in the zip. Again, its a good idea to check fit with the computer. Finally sew in all remaining ends.